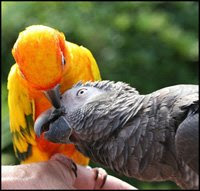
After that i have done this image as illustration look, for that you go to FILTERS > ARTISTIC > FILM GRAIN. Then change the value GRAIN: 4, HIGHLIGHT AREA: 0, INTENSITY: 10 . You can change this setting for your suitableness.
After this create a duplicate layer by CTRL + J, reneame this layer as HALFTONE. For making halftone efect you go FILTER > PIXELATE > COLOR HALFTONE. Set MAX RADIUS: 4 and leave the rest with the default values. Press OK and then go to the LAYERS PALETTE and set the BLENDING MODE to DARKEN.
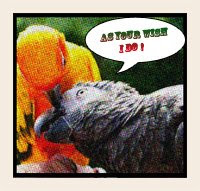
Merge both layer by flaten image by right click HALFTONE layer and select flatten image after that set a STROKE LAYER STYLE of WIDTH: 20px, POSITION: Inside and COLOR: #F5ECE1.
After that create a talk bauble use the shape tool in new layer, give a stroke layer effect size: 2 position: inside and left other things default. Give your Text on that talk bauble.
You can get Comic Art Font HERE
Now it is reedy to final image..
Hello Friend,
ReplyDeleteI have to say that I love this article. I have searched for many weeks to find an article about this topic. This blog has been so simple and has a lot more features than other blog articles.