These effect can be archived by some simple Photoshop technique. This work can be used as Wallpaper or Background of other Photoshop Work.
First choice a canvass size according to your choice. I have choose of my own with the dimension of Width: 564 px Height: 451 px.
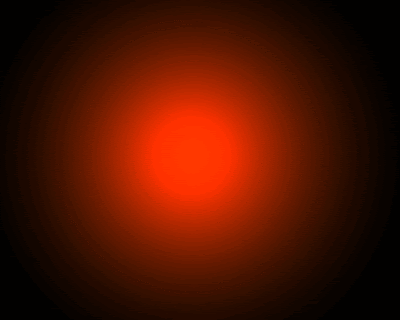
Select A Gradient with Foreground Color: #922f00 and Background Color: #000000. Create a Radial Gradient Effect. Just Duplicate the Layer using Ctrl + J , change the blending modes to "Color Dodge". It gives a lighter Radial Gradient Effect just like below images.
Image 2
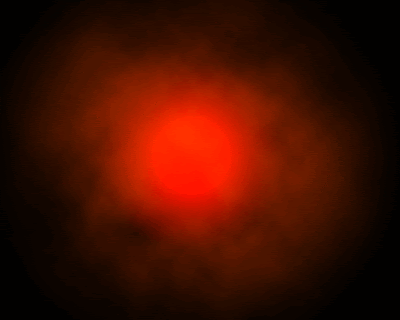
 After this effect you will create some smoky effect using Filter - Render Clouds. For that You should select the Foreground Color: #000000 and Background Color: #FFFFFF. This should be in a new layer. After geting these clouds make this layer bending option to Overlay and opacity: 60% or whatever you want. This effect will create like the below image.
Image 3
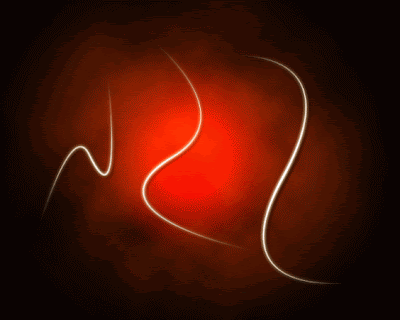
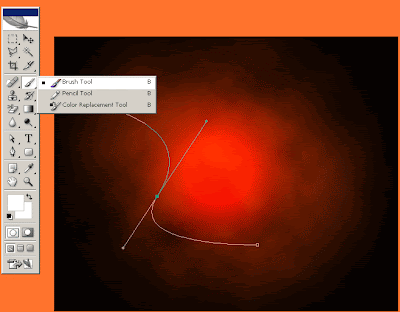
Then use the Pen Tool and make curve shaped angel. It is a simple work if you know the using of Pen tools. After getting the curve, go to use Brushes of 3 px hard Normal.
Image 4
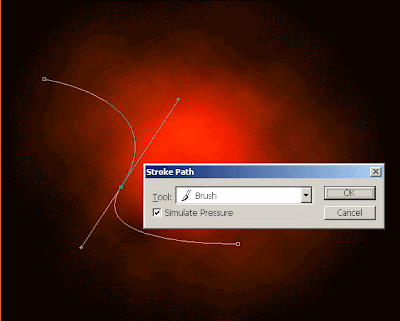
 Then return to Pen Tool and right click the curve and get "Stroke Path" option . Use "Simulate Presure" checkbox. Visualize the below images if will get confuse. It will give some relaxation to understand.
Image 5
After applying Brush, By right click the path you will get the option of "Delete Path". You will get the curve. Use these stuffs in a new layer. After that use belending option "Drop Shadow" and "Outer Glow". Use the default setting or Play it your own.
Nice Photoshop Tutorial explaining how to produce light effects. Step by step instructions make it very easy to understand. Thanks for sharing.
ReplyDelete